DevOps 4 Devs - Mastering CI with Jenkins
Introduction
This post is an spin off of the DevOps Continuous Integration with Github Actions where we learn the reasons to implement continuous integration and an example using Github actions.
This time we will do the same but using another popular tool. Jenkins.
We will learn how to install Jenkins in our local machine (in this case in a Mac), configure an agent and run a build that performs exactly the same that we did last time:
Build a docker image of a contrived Java App
Push the image to docker hub
Easy peasy.
To install Jenkins locally you have several ways to do it and, as I don't like to do again the wheel, you can reefer directly to the Jenkins documentation.
I did a local installation using `brew` package manager, but using docker directly to having Jenkins locally is a very good approach.
Once Jenkins is installed you first need to create an Agent.
An agent is responsible to run the builds. You could do it also using Jenkins engine self (and even more in local as we are just using it as test!) but as we want to learn Jenkins in a proper way, and because it is not so hard, we will create an Agent.
The way I chose to create an agent is as cloud.
Let's head to `Manage Jenkins` option.
There you can create `Nodes` and `Cloud` agents. `Nodes` is the most traditional approach of having a virtual a machine or even docker image locally hosting the agent.
But as nowadays, we live surrounded by the cloud, creating a `Cloud` agent tends to be the preferred way and tis will be our chose.
Our Cloud though, will be a `Docker` image from docker hub as "cloud". I chose this way because I don't want to depend on any cloud provider (I have to pay!) and doing so, we learn how to configure a cloud without effectively using one (smart uh? : D)
For simplicity the build will be run in the master thread of Jenkins. But this is wrong, and the recommended practice is to configure one of more agents that are responsible to run the builds on their own.
By doing so, you decouple builds / jobs from the main thread and, if something happen by building, Jenkins self is not affected.
Setting Up Your First Build
For testing if the Cloud agent was properly configured the easiest way is to create a contrived jenkins Job
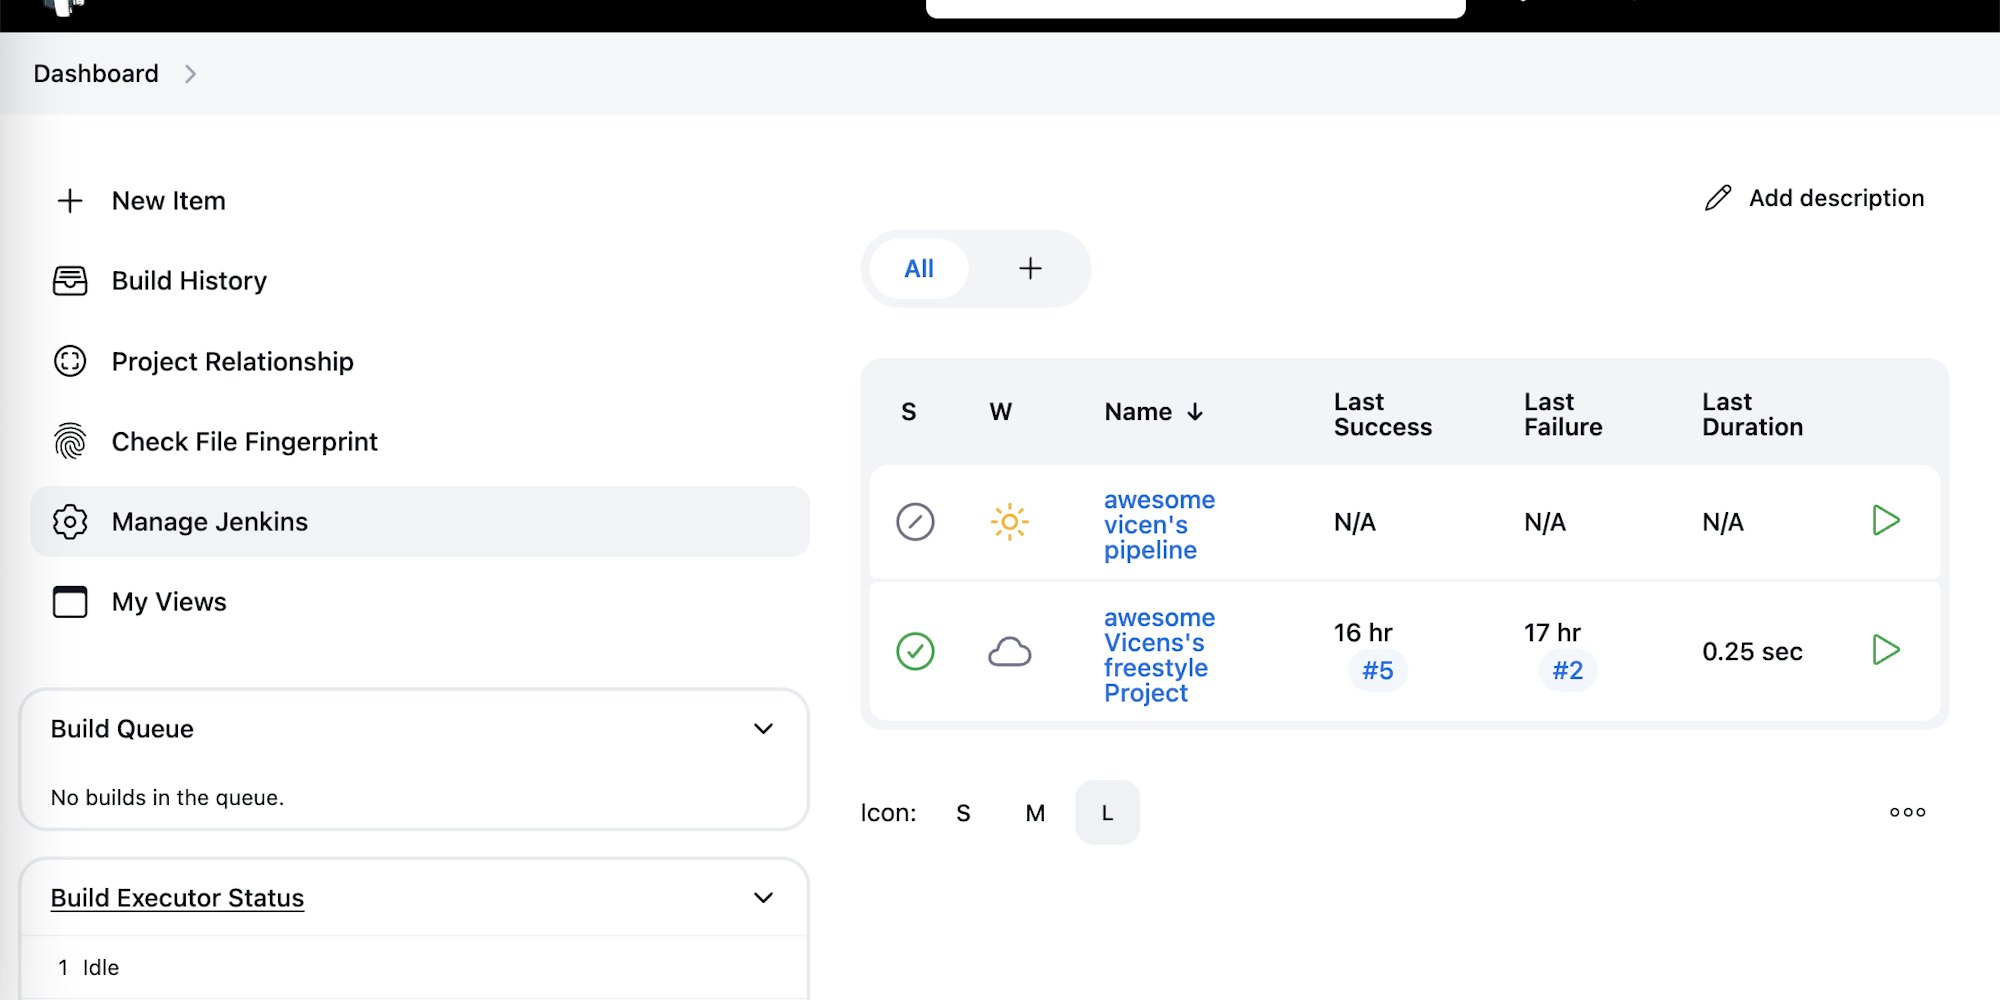
Let's head to The Jenkins `Dashboard` and in the left side click in New Item
Once you are in the next screen Enter an `Item Name` and select a FreeStyle Projecct
The value you set as `Item Name` will be used to create a folder in Jenkins `Workspace`. Therefore is recommendable that the naming does not contain spaces and words are split using
- or _
In configuration:
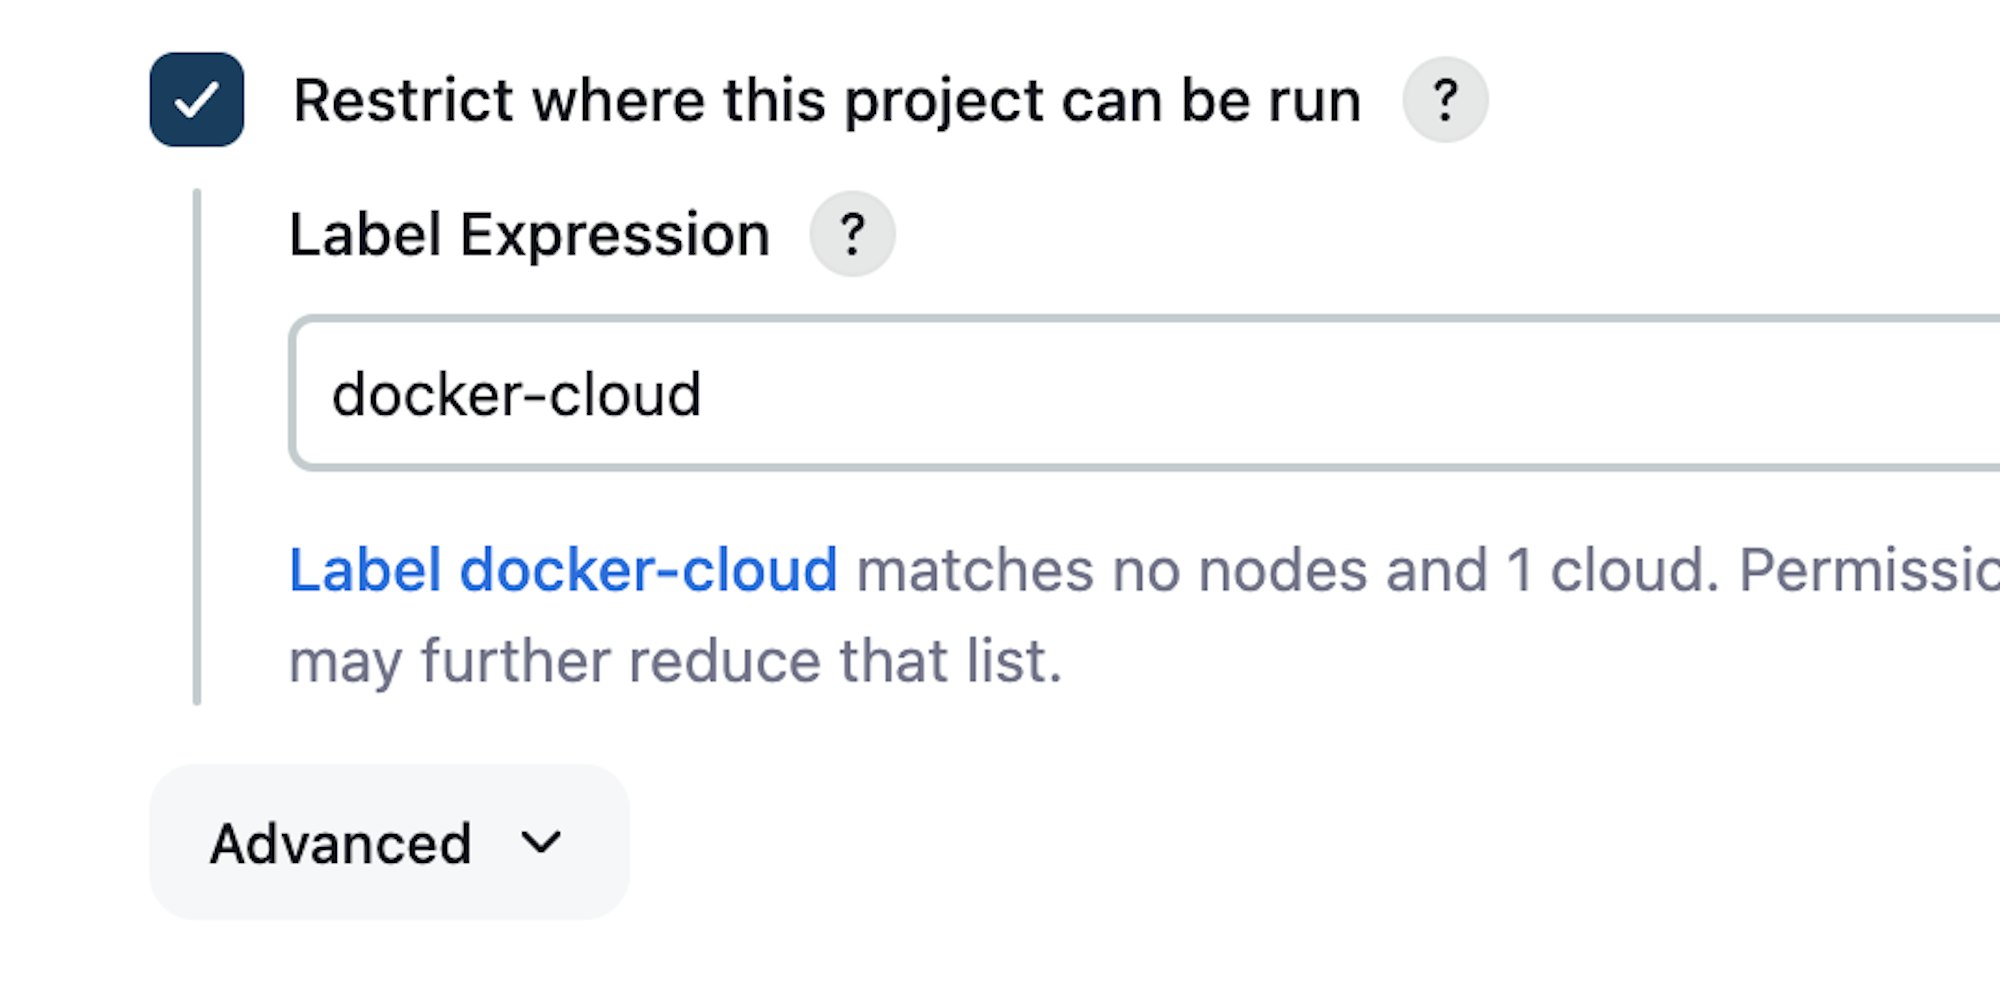
Check `Restrict where this project can be run` and set as value the name of the cloud agent you created in the previous step.
Note if we would have had an agent configured we can set in `Restrict where this project can be run` the ID of the agent. (In my case it was a cloud agent named docker-cloud).
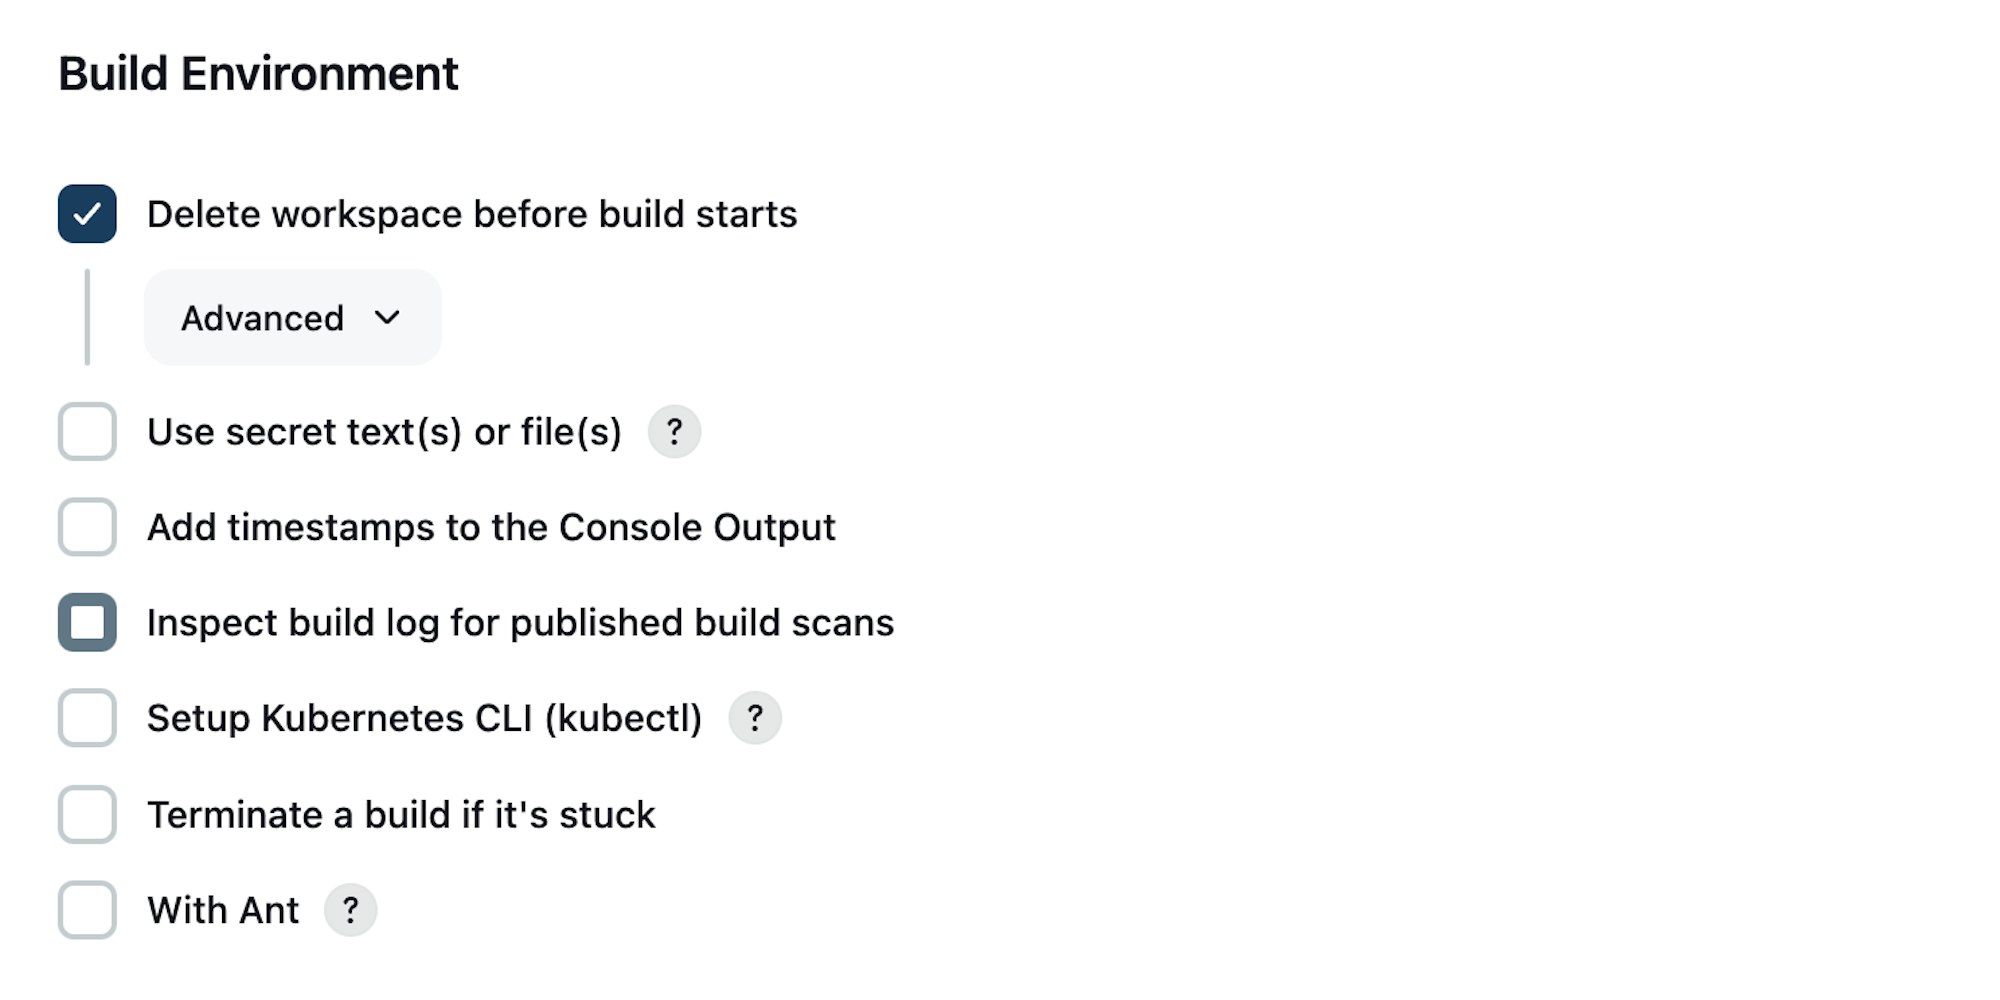
In Build Environment check the option to delete workspace before build starts.
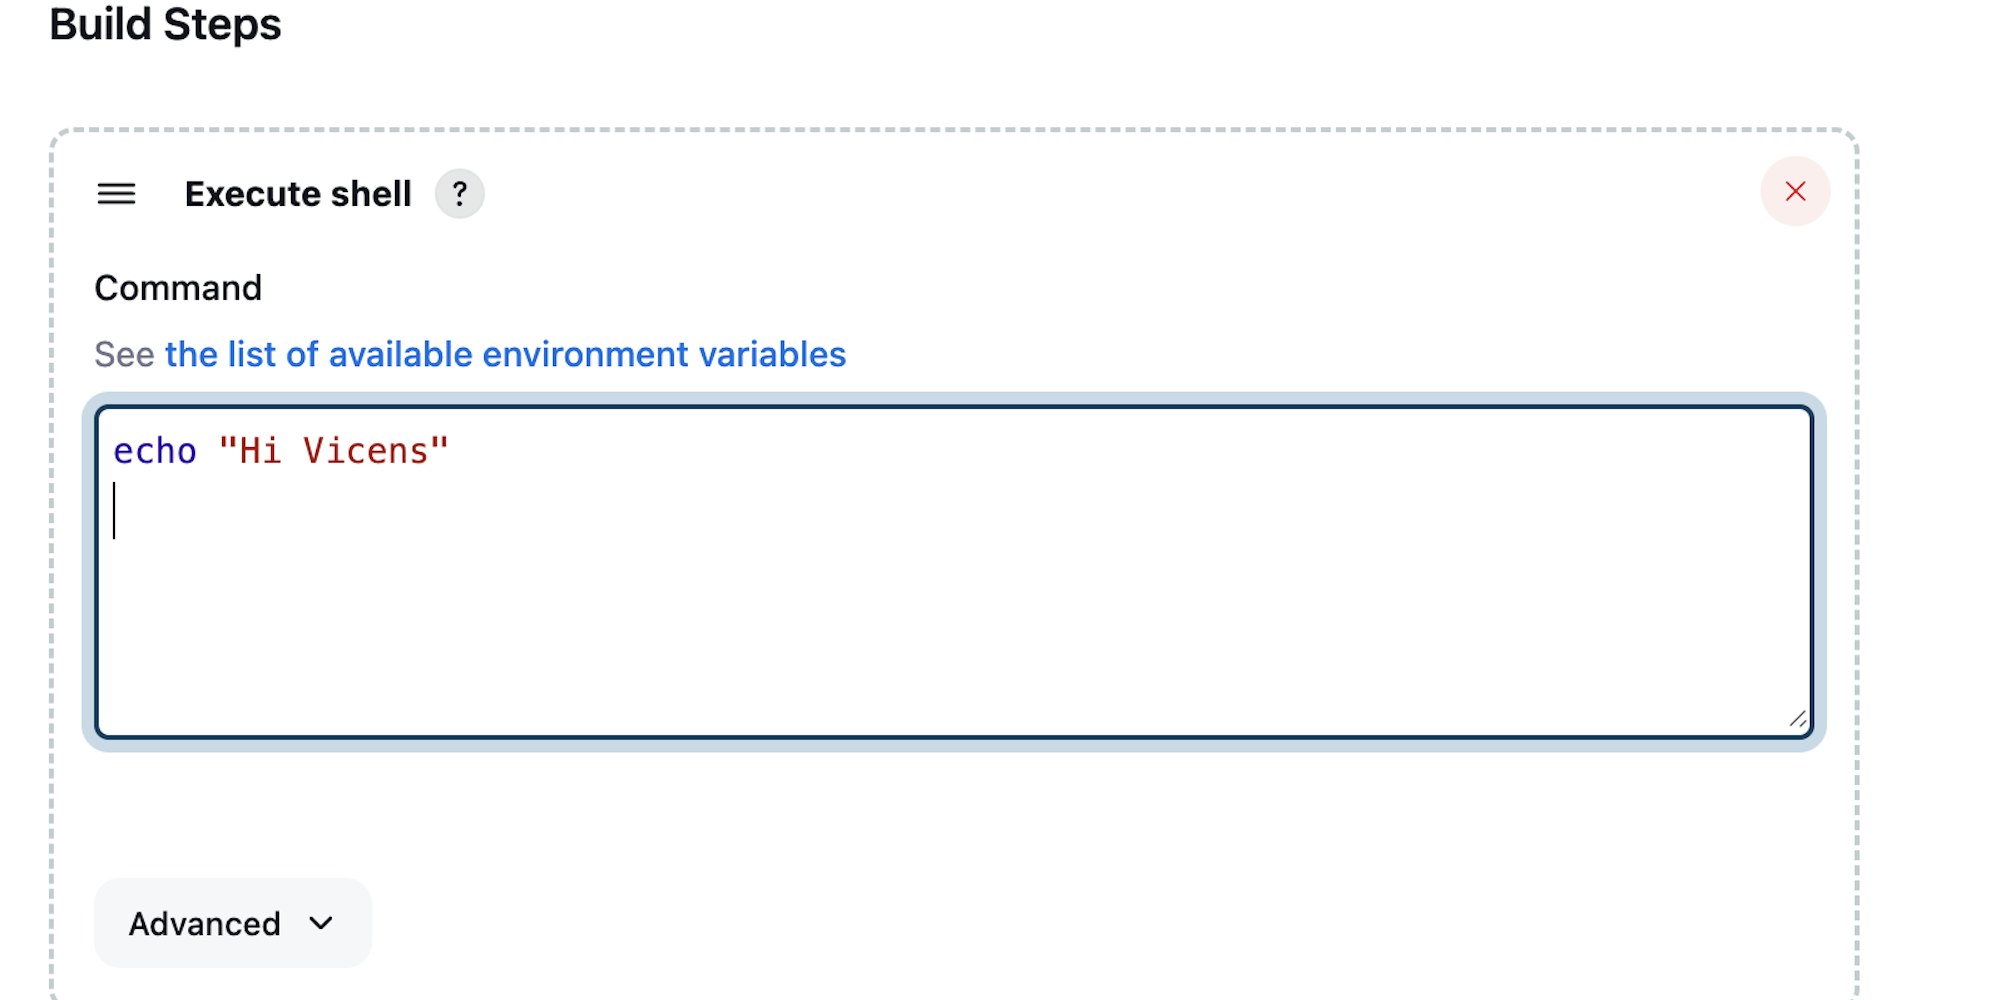
And Finally in Build Steps create one.
Select execute Shell and write echo "what you like"
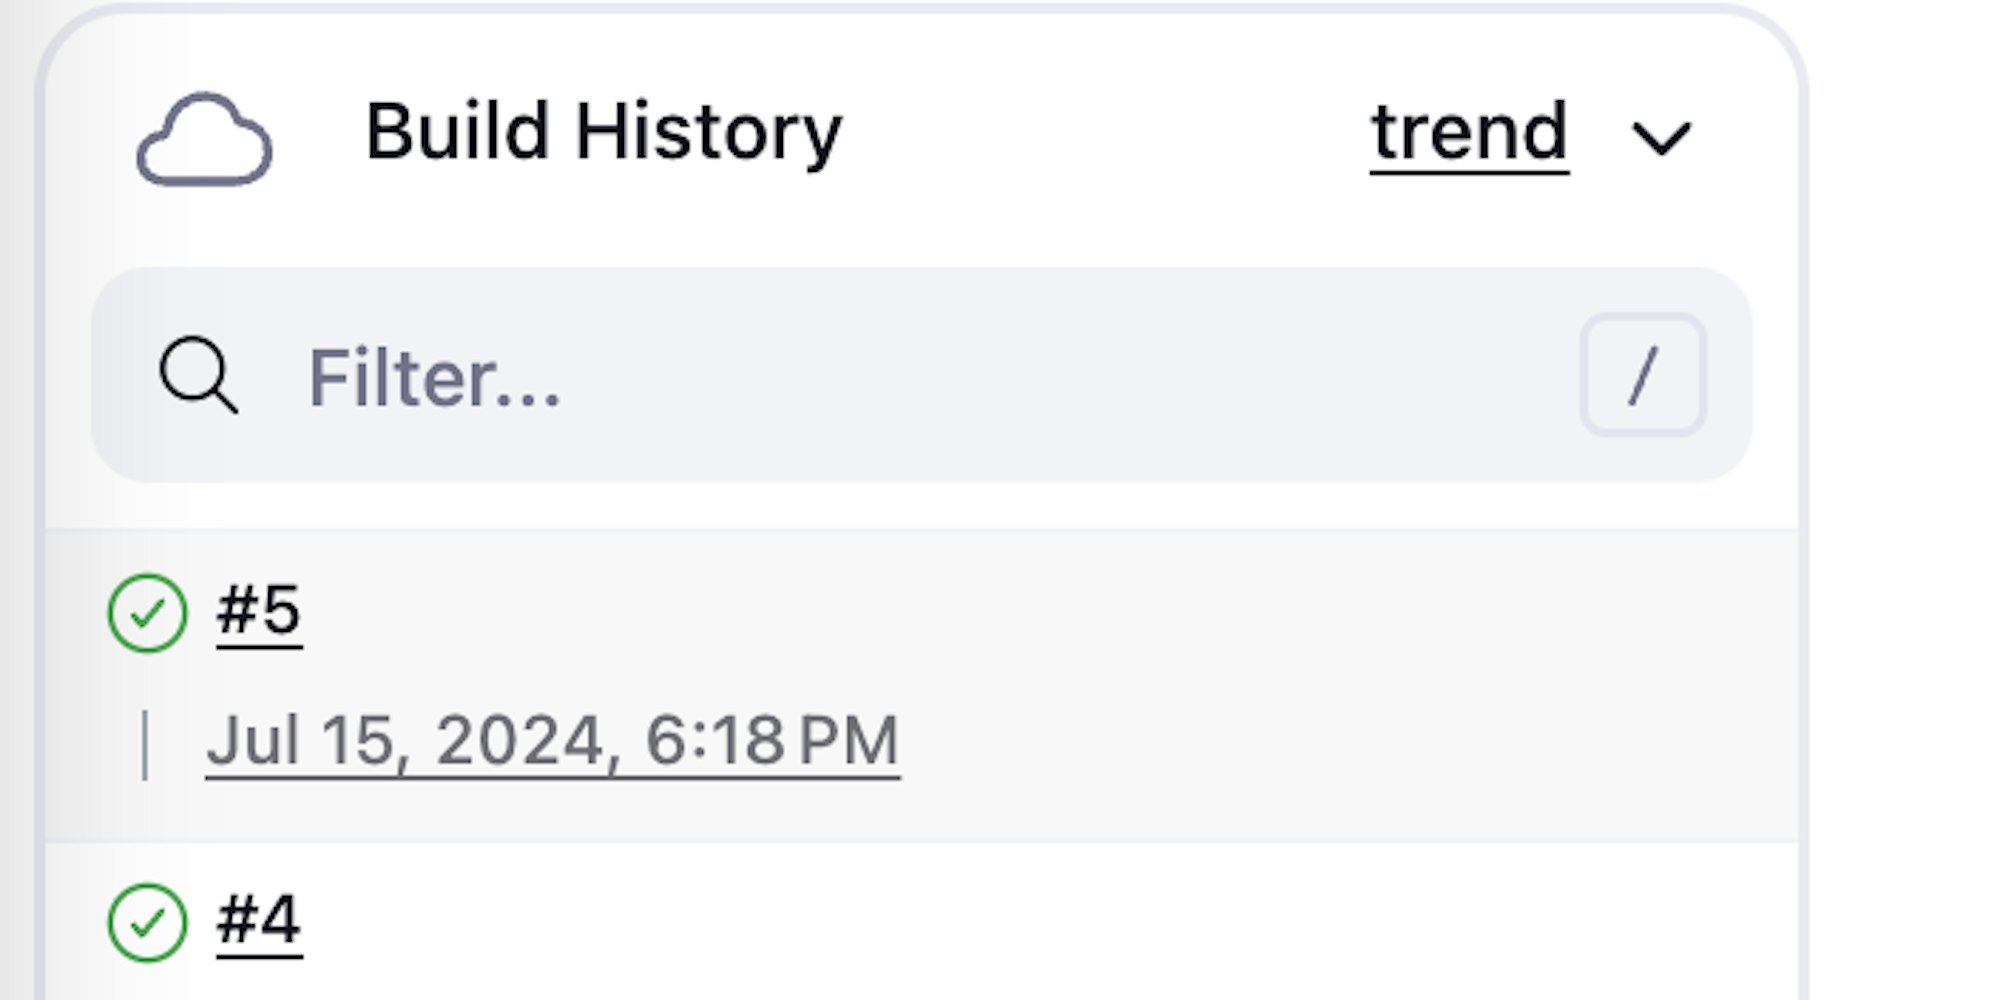
Save all together and, without leaving the project you hast created, Press Build Now and wait.
Your build should be green
Continuous integration using Jenkins
Similarly what we did in the other post we will implement CI but this time using Jenkins:
Build an image
Upload it to Docker Hub.
For this Demo we will use a Jenkins Pipeline Job. It is more flexible and it is the way to go for Jenkins Jobs.
Let's go ahead and create a new item
Set the name you most like and as type select pipeline
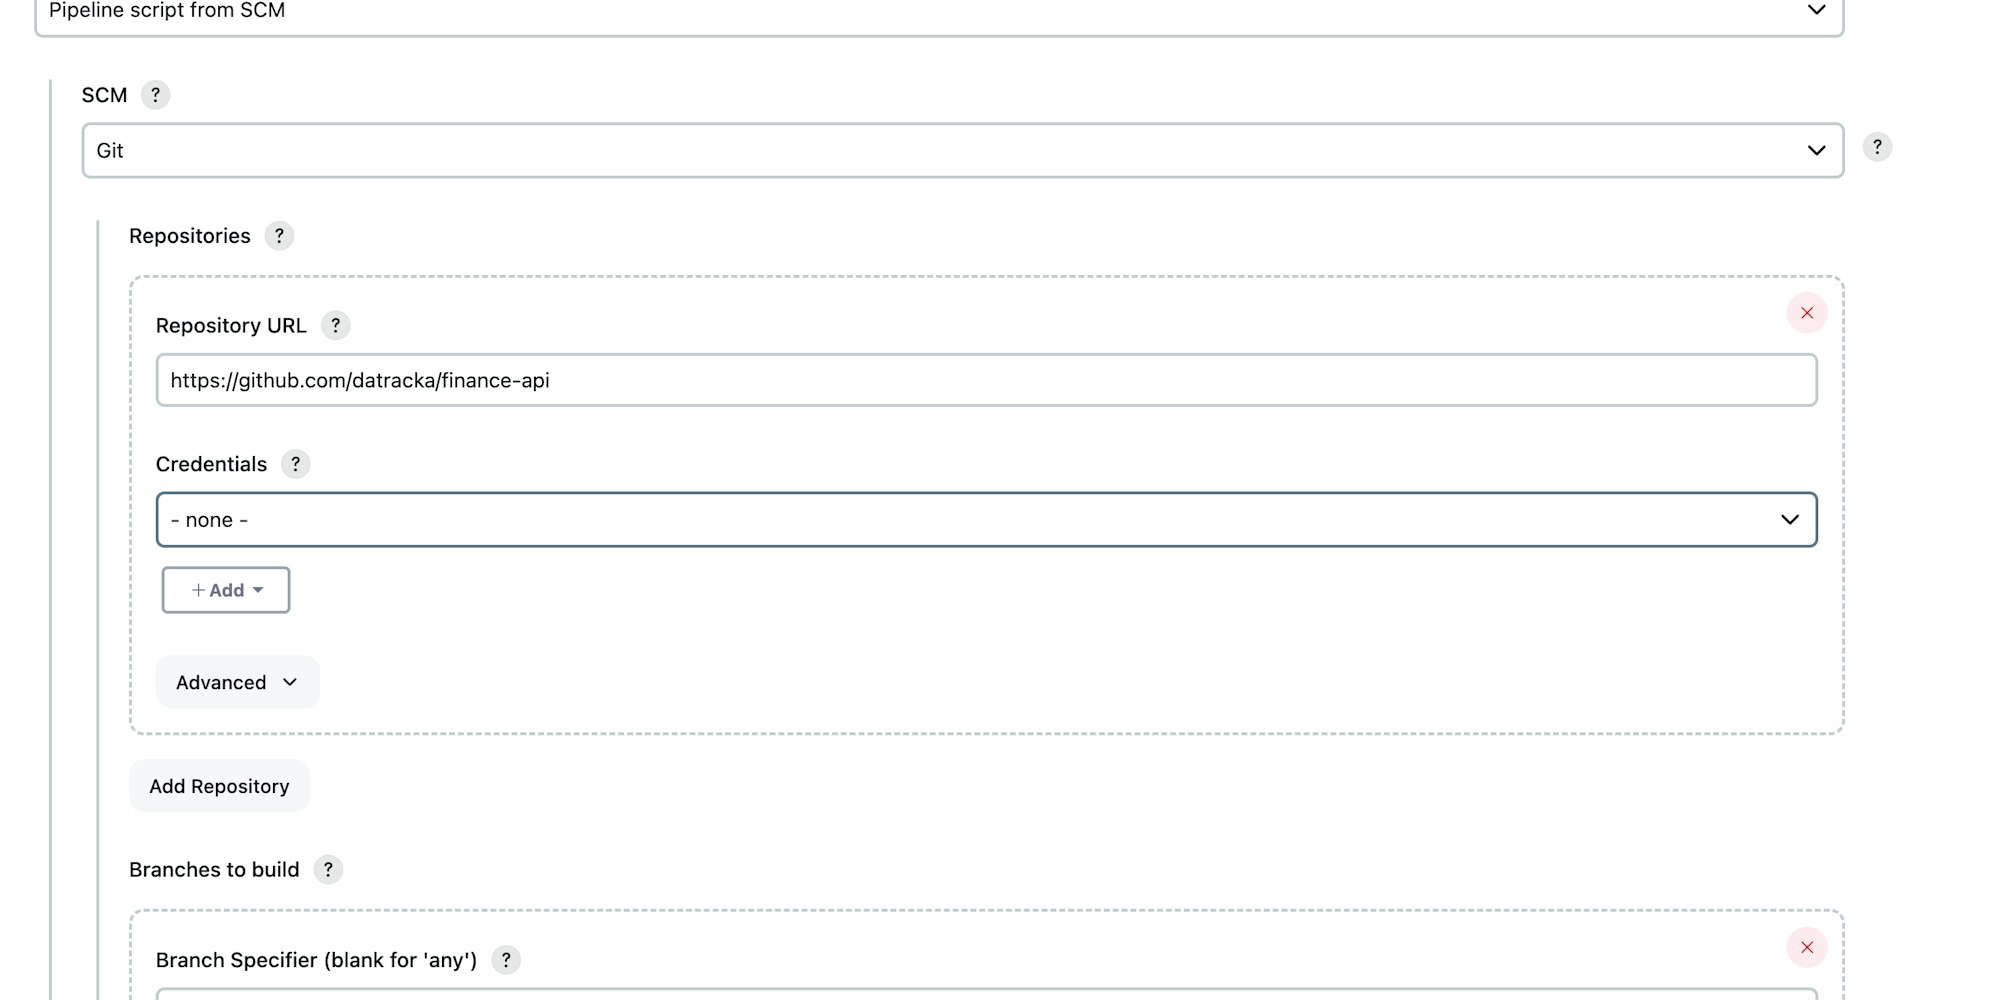
In configuration we just need to set up where our Jenkinsfile can be found.
you have to select Pipeline script from SCM (Source Control Management aka Github) set the repository and the branch that is holding the file (in my case jenkins_test)
Now, let's have a look to our Jenkinsfile
pipeline {
    agent any

    environment {
        DOCKER_CREDENTIALS_ID = 'docker-credentials'
        DOCKER_REPO = 'datracka/api'
    }

    stages {
        stage('Checkout') {
            steps {
                // Checkout the repository from GitHub
                git url: 'https://github.com/datracka/finance-api.git', branch: 'jenkins-test'
            }
        }

        stage('Build Docker Image') {
            steps {
                script {
                    // Print the BUILD_ID for debugging
                    echo "Build ID: ${env.BUILD_ID}"

                    // Use the sh step to run the Docker build command
                    sh "docker build -t ${DOCKER_REPO}:${env.BUILD_ID} ."
                }
            }
        }

         stage('Docker Push') {
            steps {
                script {
                    withCredentials([usernamePassword(credentialsId: DOCKER_CREDENTIALS_ID, usernameVariable: 'DOCKER_USERNAME', passwordVariable: 'DOCKER_PASSWORD')]) {
                        sh 'echo $DOCKER_PASSWORD | docker login -u $DOCKER_USERNAME --password-stdin'
                    }
                    sh "docker push ${DOCKER_REPO}:${env.BUILD_ID}"
                }
            }
        }
    }
}
As you can see it is pretty similar the one we had for Github Actions.
We have 3 stages / steps:
1 - Clone the Repo.
2 - Build a Docker image with the BUILD_ID in this case
3 - Push the image to docker Hub also with the BUILD_ID in this case
By using the BUILD_ID we can easily relate the build to the image stored in Docker Hub.
Just trigger the build and everything will work as expected.
It would be possible, and also the most common way, to define when run the job based based in polling regularly the SCM or using a CRON.
Summary
The idea of this post was show you that other CI / CD tools like Jenkins are pretty similar what we had already saw.
Jenkins is easy to learn and very reliable. It has been used for thousands of organization for the last 15 years and it is kind of standard in CI / CD.
Personally I think Jenkins lost a bit of sex-appeal in the last years. I do not have fun anymore using Jenkins. Therefore I will continue just using Github Actions for the next videos!
bonus! Some people told me about Tekton as Jenkins Replacement. Worthy to have a look if you have time!

