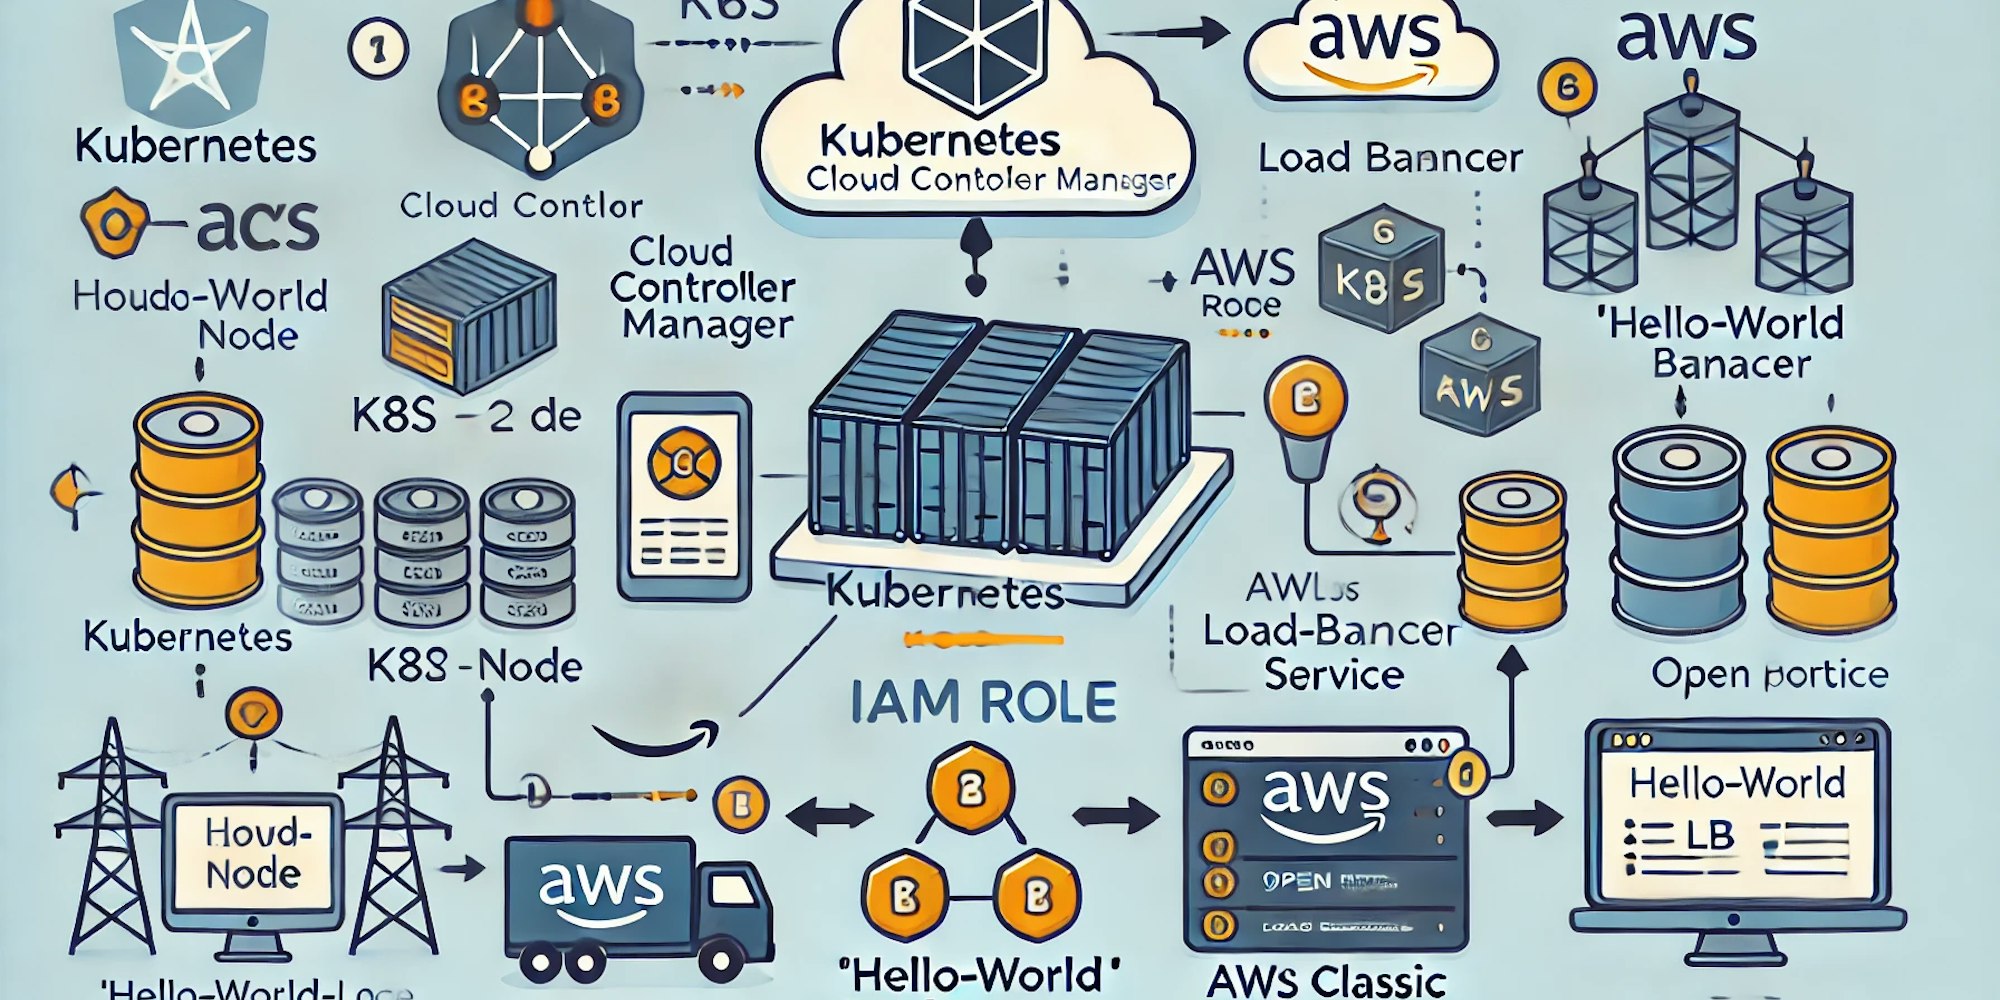
D4D - Exposing the deployment as a LoadBalancer
Introduction
To deploy a Deployment as Load Balancer Type in K8S in our EC2 AWS self managed we have to do the following steps:
Allow our EC2 instance to manage AWS resource
Configure K8S to use AWS Control Manager
Install The AWS Control Manager K8S plugin
Deploy the app itself
Configure AWS Load Balancer
Open the service port in the the EC2 instance related Security Group
Add permissions so EC2 can interact with AWS resources
For the AWS CCM to function correctly, your EC2 instance needs permissions to interact with AWS resources.
Create and apply a Trust Policy File
Create a file trust-policy.json
{
  "Version": "2012-10-17",
  "Statement": [
    {
      "Effect": "Allow",
      "Principal": {
        "Service": "ec2.amazonaws.com"
      },
      "Action": "sts:AssumeRole"
    }
  ]
}
Run:
aws iam create-role --role-name AdminEC2Role --assume-role-policy-document file://trust-policy.json
Busy with IAM
We want to create a role with admin access and attach it to our instance. So our instance will be admin access to the AWS resources
# Attach permissions (let's be permesive for this exercise)
aws iam attach-role-policy --role-name AdminEC2Role --policy-arn arn:aws:iam::aws:policy/AdministratorAccess

# Create an instance profile
aws iam create-instance-profile --instance-profile-name AdminEC2InstanceProfile

# Add the rols to the instance profile
aws iam add-role-to-instance-profile --instance-profile-name AdminEC2InstanceProfile --role-name AdminEC2Role

# Associate the Instance Profile with the EC2 Instance
aws ec2 associate-iam-instance-profile --instance-id <your_instance_id> --iam-instance-profile Name=AdminEC2InstanceProfile

## Bonus: to check if there is an existing association and remove it

aws ec2 describe-iam-instance-profile-associations --filters "Name=instance-id,Values=<your_instance_id>"

aws ec2 disassociate-iam-instance-profile --association-id association-id-value
Configure K8S accordingly
# restart kubelet
sudo systemctl daemon-reload
sudo systemctl restart kubelet

# Edit API Server Manifest and add `- --cloud-provider=external` under the commadn section
sudo nano /etc/kubernetes/manifests/kube-apiserver.yaml

# Edit Controller Management Manigest adding also - --cloud-provider=external (and it was something cloud relatedpreviously, remove it)
sudo nano /etc/kubernetes/manifests/kube-controller-manager.yaml
Kubernetes will automatically restart the control plane components since we're editing static pod manifests.
Install AWS Cloud Controller Manager
the easiest way is to follow the official steps from:
https://github.com/kubernetes/cloud-provider-aws/tree/master/charts/aws-cloud-controller-manager
what you will need to do also is to tag your aws EC2 resource so it can be found by AWS CCM.
aws ec2 create-tags --resources i-078efac
c5a0834597 --tags Key=kubernetes.io/cluster/kubernetes-cluster,Value=owned
It's finally all in place. All systems are running? If so, time to deploy the application using a deployment file.
Deploy the app.
here are several ways to deploy an app, we will use a manual one based in deployment and services files.
First the deployment vi hello-world-lb-deployment.yaml
apiVersion: apps/v1
kind: Deployment
metadata:
  name: hello-world-lb
spec:
  replicas: 1
  selector:
    matchLabels:
      app: hello-world-lb
  template:
    metadata:
      labels:
        app: hello-world-lb
    spec:
      containers:
      - name: hello-world-lb
        image: psk8s.azurecr.io/hello-app:1.0
        ports:
        - containerPort: 8080
and the service one vi hello-world-lb-service.yaml
```bash
apiVersion: v1
kind: Service
metadata:
  name: hello-world-lb
spec:
  selector:
    app: hello-world-lb
  ports:
    - protocol: TCP
      port: 80        # External port
      targetPort: 8080 # Container port
  type: LoadBalancer
Nothing new, it could be also created inlined.
Now apply those files:
kubectl apply -f hello-world-lb-deployment.yaml
kubectl apply -f hello-world-lb-service.yaml
run `kubectl get services` . After some minutes the IP should be assigned.
NAME             TYPE           CLUSTER-IP     EXTERNAL-IP   PORT(S)        AGE
hello-world-lb   LoadBalancer   10.0.0.123     <pending>     80:XXXXX/TCP   30s
Configure properly the Load Balancer to the instance(s):
Now if you go to your AWS console you should see a Load Balancer was created (Classical LB)
But unfortunately you will not still able to access your application with the DNS provided.
Still you need to link your instance with the load Balancer.
to do that:
aws elb register-instances-with-load-balancer \
    --load-balancer-name <load_balancer_name> \
    --instances <instance_id> \
    --region eu-west-3
to get the instance ID `aws ec2 describe-instances --region eu-west-3 --query 'Reservations[*].Instances[*].InstanceId' --output text
to get the load balancer name aws elb describe-load-balancers --region eu-west-3
Open the service port in the the EC2 instance
Also you need to open the port the service maps so it is reachable from the Load Balancer.
aws ec2 authorize-security-group-ingress \
    --group-id <security-group-id> \
    --protocol tcp \
    --port <port_to_open> \
    --cidr 0.0.0.0/0 \
    --region <your-region>
Summary
This is all, I hope it helped to clarify how to do a Load Balancer Deployment in K8S.


